Jacaranda’s architectural wood veneer applies much like a vinyl wallpaper. The process is straightforward and requires minimal tools, and our veneer is flexible enough to apply to curves and corners. For the best results, application surfaces must be properly prepared, and we recommend using specific adhesives to maintain quality and ensure longevity.
Priming is the first step. Priming the application surface prevents oversaturation with adhesive. Avoid using oil-based and alkyd primers. Instead, we recommend specific primers to prepare the application surfaces, including:
- Bulls Eye 1-2-3 Primer Sealer over painted surfaces or wood composite board
- Shieldz Universal Plus Primer over new or clean drywall in high-moisture areas
- Gardz High-Performance Sealer over damaged drywall, loose paint, or chalky surfaces
- Roman Decorating Products Pro-935 over new or clean drywall and Pro-977 over plaster, loose paint, drywall, and chalky surfaces
Once all surfaces are primed using an appropriate primer according to the manufacturer’s instructions, they need to be cured for a minimum of two days.
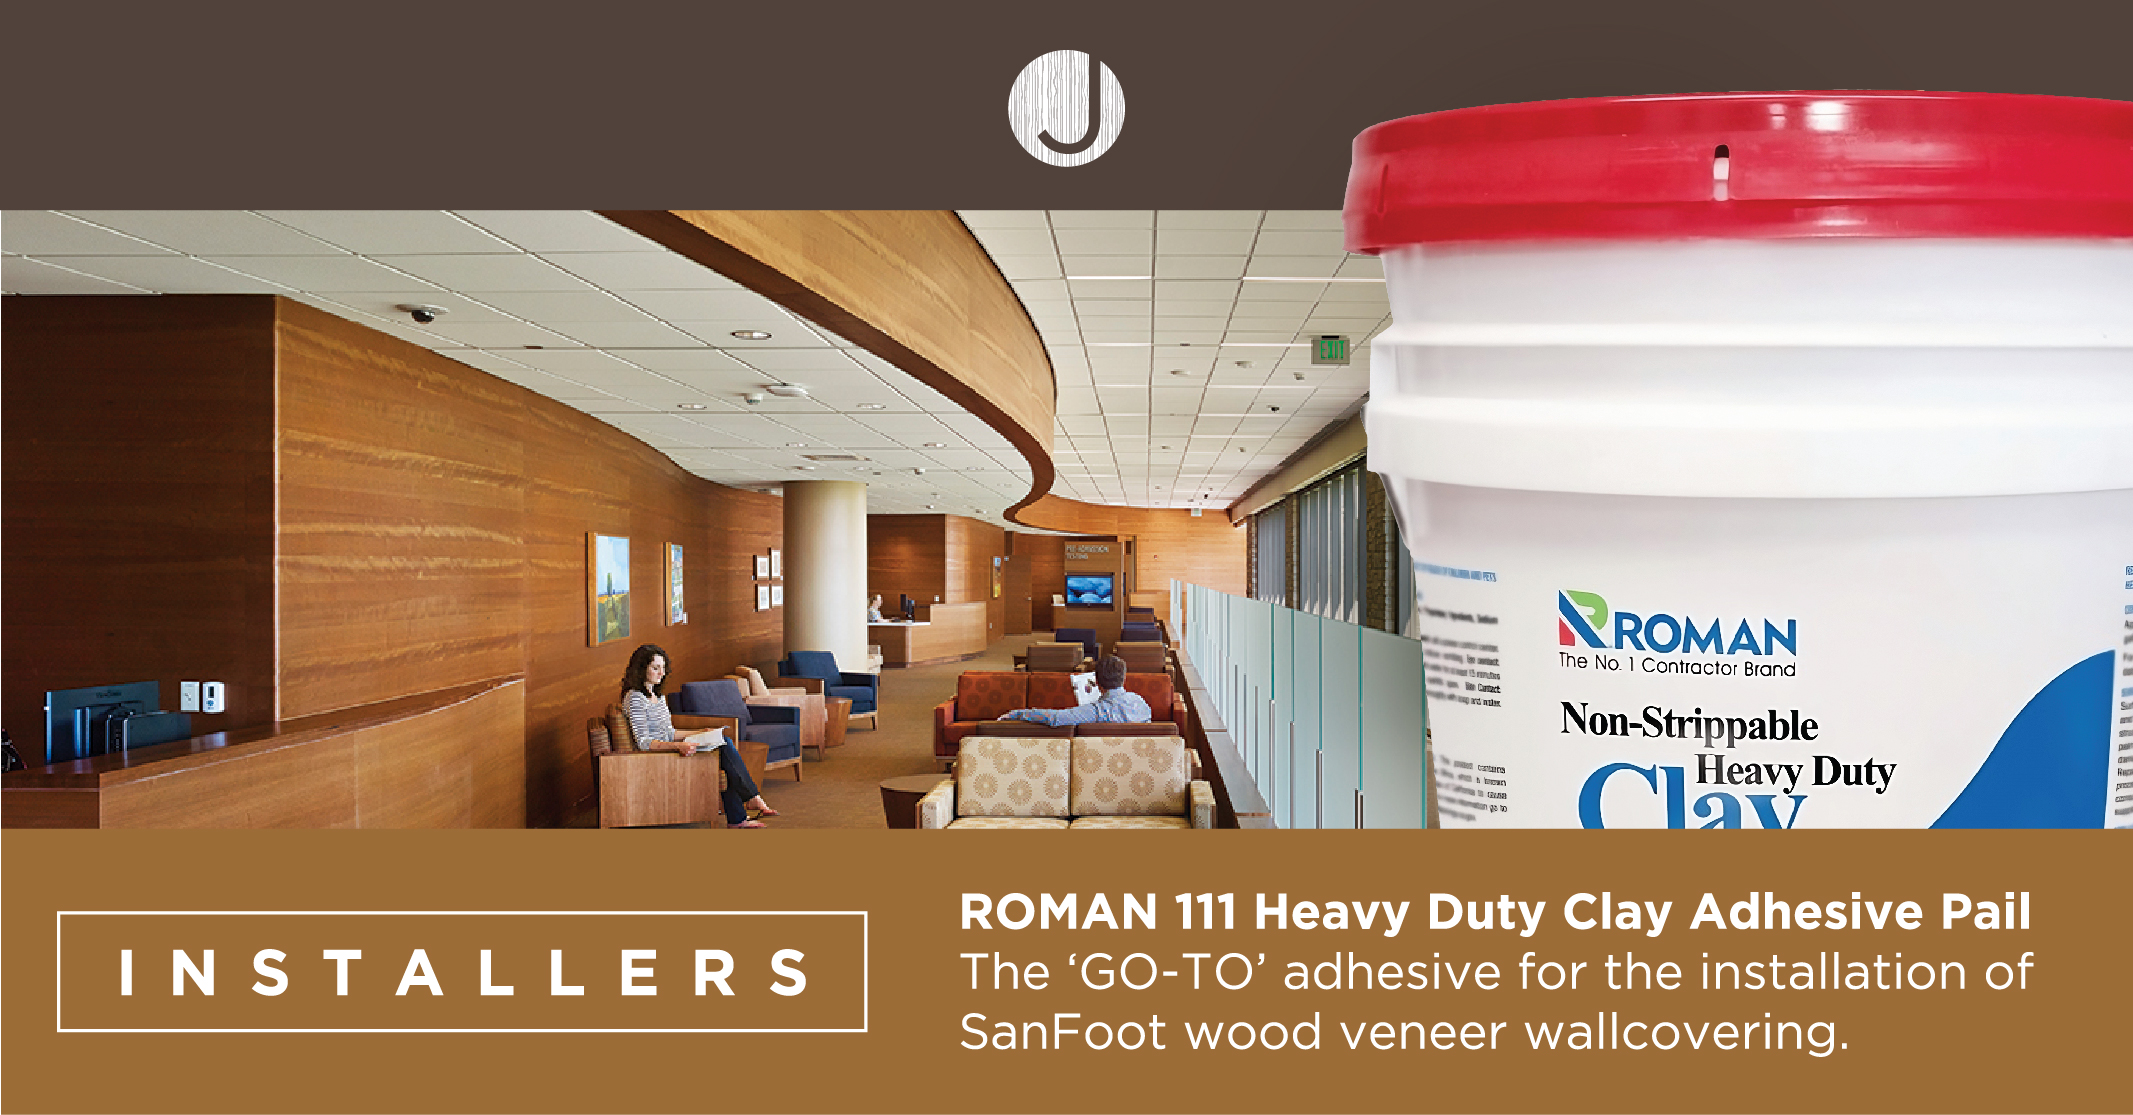
You will next need to prepare the veneer architectural panels using adhesive. At Jacaranda, we recommend using ROMAN 111 Heavy Duty Clay Wallcovering Adhesive. This adhesive is ideal for commercial vinyl wallcoverings and wood veneer and offers excellent wet tack and a strong, permanent bond.
Roman 111 Clay offers many benefits. It is easy to use and is easy to clean using only water. It works well in humid environments and can prevent seam curling and spreading. A single gallon can cover up to 280 square feet.
Use the Roman 111 Clay at full strength. If the consistency is off, whip or stir the adhesive until the desired consistency is reached. Apply an even coating of adhesive to the back of the veneer using a standard paint roller with a nap from ⅜” to ¾”. After applying the adhesive, book the veneer for about 10 to 15 minutes to give the adhesive time to tack and avoid unwanted bubbling or dimpling. You can also apply adhesive to the application surface.
As with priming, the preparation here is essential to great results. Choose your desired pattern match type, such as end match, stack match, or railroad, and decide whether and how you want the pattern to repeat. If you’d prefer random matching, rotate alternate panels 180 degrees.
Before beginning the installation, hang a single test strip on the primed surface to check the strength of the bond. Once you’re satisfied, you can begin to install your architectural veneer. Review the application instructions and separate the booked veneer to apply it to the prepared surface. The wallcovering should slide right into position, and you can begin to smooth and secure the sheet on the wall starting at the ceiling and working your way down.
At Jacaranda, we craft high-quality real wood veneers. To preserve and protect that quality, we recommend using only the highest quality products during installation, including Roman 111 Heavy Duty Clay Adhesive. Contact us today to learn more or schedule a site visit with a member of our team.