Wood veneer is a strong, durable material with a rich history. A thin layer of real natural wood is bonded to a secure underlayer, which can then be installed over your existing walls. Wood veneer walls can create depth and beauty and add character to your home or environment. Whatever your taste or aesthetic, wood can make your vision a reality.
Installing wood veneer is not a complicated process. It is fairly similar to installing standard vinyl wallcovering and uses the same tools. Because wood veneer wallcoverings are natural wood products, you will need to take certain precautions to ensure that installation conditions are correct to achieve your desired results.
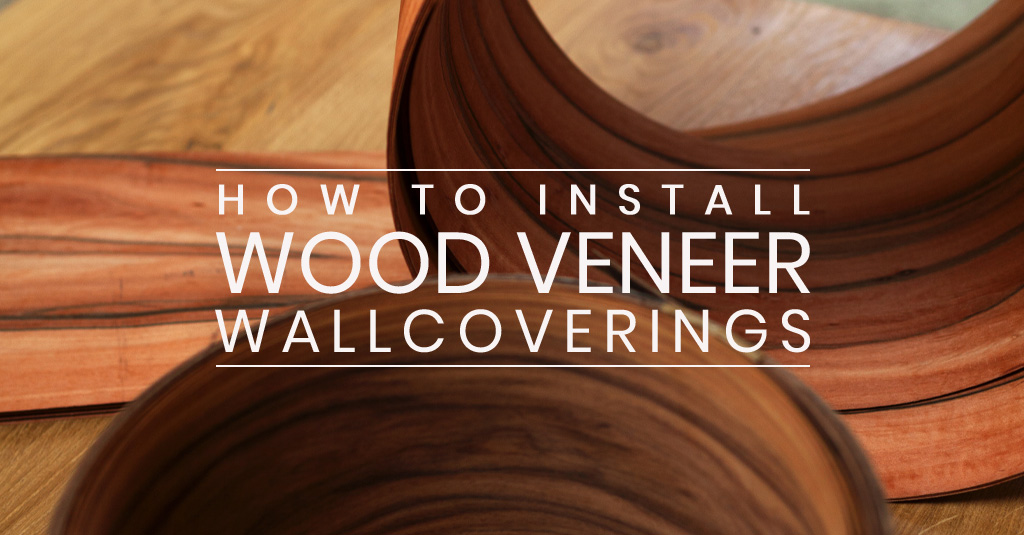
How to Install Wood Veneer
Preparation
Before installing your wood veneer wallcoverings, application surfaces first need to be primed. Using a roller and high-quality primer, prime your walls at least two days before installing. The primer prevents the adhesive from being absorbed into the drywall or underlying wall surface and eliminates dry pockets. Previously painted or primed services should be lightly sanded to break the seal before re-priming.
Jacaranda recommends specific primers based on the type of wall, including wood composite, drywall, or other surfaces. Using the correct primer is essential for the best results. Do not use alkyd or oil-based primers with SanFoot. Using any primers, adhesives, or finishes that are not specified by the manufacturer will void the warranty.
Until you are ready to apply SanFoot, store the sheets in a clean, dry, low humidity area with a stable temperature and according to package directions. About 24 to 48 hours before application, remove the sheets from their packaging. This gives them time to acclimate and relax. In a dry climate or areas of low humidity, cover the veneer with a sheet of vinyl to prevent drying. Place the sheets face down but not directly on the floor.
Finally, before applications, check the moisture content of the substrate. It should be within the 7 to 9 percent range. Apply a single test strip of SanFoot to ensure a strong bond before proceeding with installation.
Installation
After surfaces have been primed, you can begin the installation process. Inspect each sheet for damage, and then arrange them according to number. The sequence is listed on the back of the sheets. Sheets also contain flitch numbers and “bottom” designations. Install the sheets according to sequence number and facing the same direction. The bottoms should all be either down or up based on your aesthetic preference.
Use only adhesives recommended by Jacaranda. Apply recommended adhesives at full strength. If you need to adjust the consistency, stir or whip them as desired. Using a standard nap paint roller to apply a uniform layer of adhesive to the back of the wood veneer sheets, ensuring the sheets are fully coated.
Each sheet should be booked for 10 to 15 minutes before hanging. Give ample time for the adhesive to tack, which eliminates the risk of bubbling after installation. In some cases, you might also need to apply a thin coating of adhesive to the wall as well.
Each SanFoot sheet comes complete with a urethane sealer and finish, which means that there is no need for additional finishing once the veneer is installed.
SanFoot and other Jacaranda wood veneer products can be installed on virtually any wall surface, including primed drywall, MDF, plywood, composites, aluminum, and other metals. Visit Jacaranda, Inc. to learn more about how to install wood veneer or to schedule an appointment with our team.