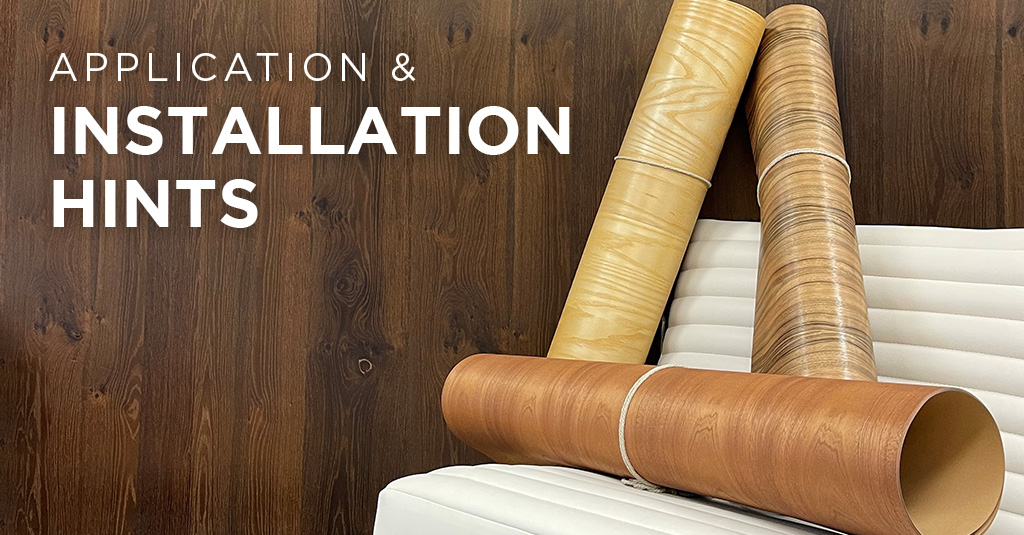
SanFoot is a real wood veneer wallcovering that applies easily. Much like a vinyl wallcovering, Jacaranda’s veneer wallcovering can be applied directly to your walls without any intensive preparation or finishing work. Once installed, our real wood veneers are beautiful and ready to use with a durable hard-wearing finish and a rich, attention-getting shine.
Here’s what you need to know about applying and installing your new SanFoot veneer from Jacaranda.
Prepare the wallcovering.
When your wallcovering is first delivered, check it over thoroughly to be sure there is no damage. Until you are ready to install it, keep it stored in a clean, dry, and secure area. The storage temperature should be stable and between 45 and 85 degrees Fahrenheit with minimal humidity.
About 24 to 48 before installation, you can remove the veneer wallcoverings from the box and lay them on a flat surface. This will allow your sheets to rest and acclimate to your environment.
Prepare the drywall.
As the veneer is resting, you can begin to prepare your drywall or application surface. This surface should be clean, smooth, and dry.
Apply a primer to the clean, dry substrate. We recommend Zinsser’s Bullseye 1-2-3 Primer Sealer, Shieldz Universal PLUS Primer, or GARDZ High-Performance Sealer. Primer will prevent the substrate from absorbing excessive adhesive and will help ensure a strong bond with the wall. If the wall has previously been painted, sand it lightly just enough to break the bond, and then prime over the paint.
Prepare to apply.
Each sheet of SanFoot comes pre-numbered for easy matching and installation. Check the back of the sheets for the flitch and sequence numbers so that you can install the sheets of veneer in the desired order.
Apply a uniform layer of clay adhesive, such as Roman PRO-732 Extra Strength Clay Adhesive. Do not thin the adhesive with water but rather whip or stir it until it reaches your desired consistency. Apply the adhesive to the entire backside of each sheet, book the sheets, and allow them to rest for 20 minutes, which gives the adhesive time to tack and reduces the risk of bubbling.
Apply.
Use a plumb or level to mark a series of vertical lines beginning with your start point. Be sure to account for some overlap. After measuring the wall’s height, add two inches before cutting your veneer. Apply an even, undiluted coat of clay-based primer to the wall and begin to hang your wood veneer wallcovering in small sections working left to right. Double check to ensure the edge is following the vertical lines you marked, and press down to remove any air bubbles that have formed. Use a razor blade and straightedge to trim off any excess.
When hanging the second piece of veneer, you will overlap the first piece slightly. Raise it to align the wood grain, and then repeat the process you began with the first piece. Carefully cut through both pieces of veneer to remove excess material and press against the seam for a flawlessly aligned wood grain.
Repeat the process until you have completed the veneer installation and the wall is covered.
Clean up.
Once the wall is covered, use a natural sponge and clean water to remove any excess dust, adhesive, and debris. Change your water frequently to avoid adding smears or a cloudy look to your new veneer. Use another lint-free rag to dry the veneer.
SanFoot is appropriate for a wide range of veneer aapplications and can be used on walls, ceilings, reception desks, and more to create a one-of-a-kind environment with the natural beauty and appeal of real wood. Contact Jacaranda today to learn more or to schedule a site visit with our design team.


